QuickBooks® Plugin
The AGMS Gateway QuickBooks® Module allows businesses to process credit/debit cards and ACH payments directly in QuickBooks®. Businesses can now incorporate payments right into their existing workflow without ever having to leave QuickBooks®. We've also enabled the ability to swipe transactions right within the module to help businesses avoid downgrades.
Reconcile Payments
Businesses often accept payments from multiple sources, such as a website or mobile devices. Using the AGMS Synx feature allows businesses to pull in transaction data from other sources to help streamline reconciling deposits and automate the accounting process.
Installing the AGMS Gateway QuickBooks® Plugin
The AGMS Gateway QuickBooks® Plugin can be downloaded on the QuickBooks® Payment Add-on page located in the AGMS Gateway. The plugin is compatible with QuickBooks® 2007-2013, including QuickBooks® Pro, QuickBooks® Enterprise, and QuickBooks® Premier. QuickBooks® must be installed prior to installing the AGMS Gateway QuickBooks® Plugin.
Download the AGMS QuickBooks® Manual
The steps below will walk through how to install and setup the AGMS Gateway QuickBooks® Plugin on a Windows PC.
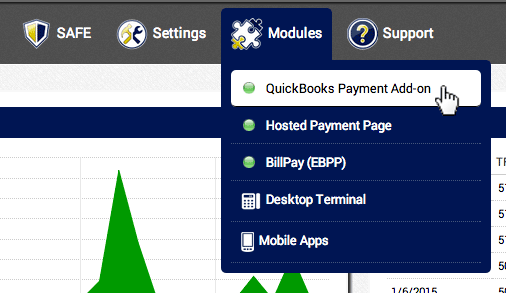
- In the AGMS Gateway, navigate to Modules and click QuickBooks® Payment Add-on
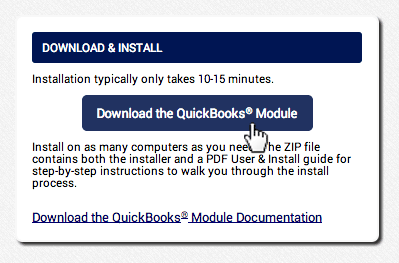
- Click Download the QuickBooks® Module
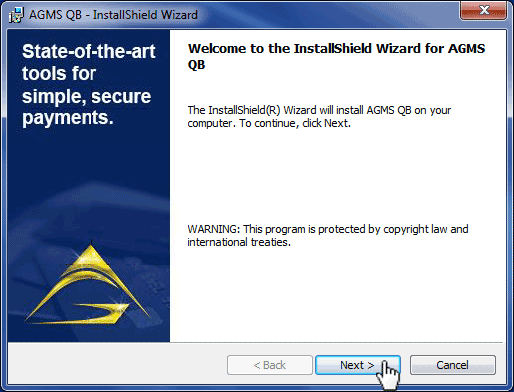
- Get started by running the AGMSQBInstaller.exe, then click Next
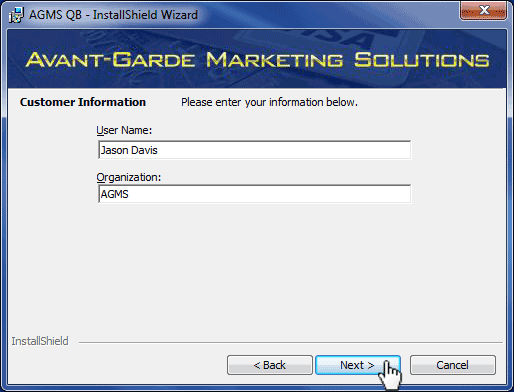
- Enter a User Name and Organization, then click Next
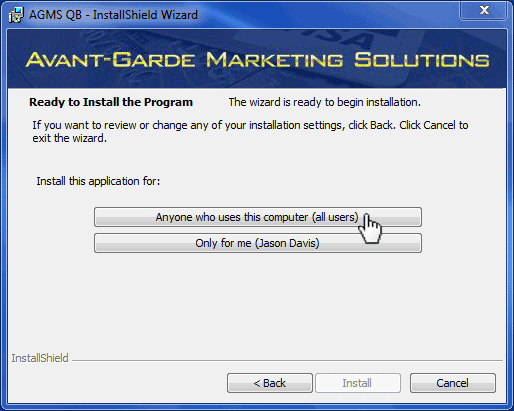
- Select the User or Users whom the plugin will be installed for. “Anyone who uses this computer” is the recommended setting.
- When the setup completes, make sure “Launch AGMS QB” is checked, then click Finish

Setup the AGMS Gateway QuickBooks® Plugin
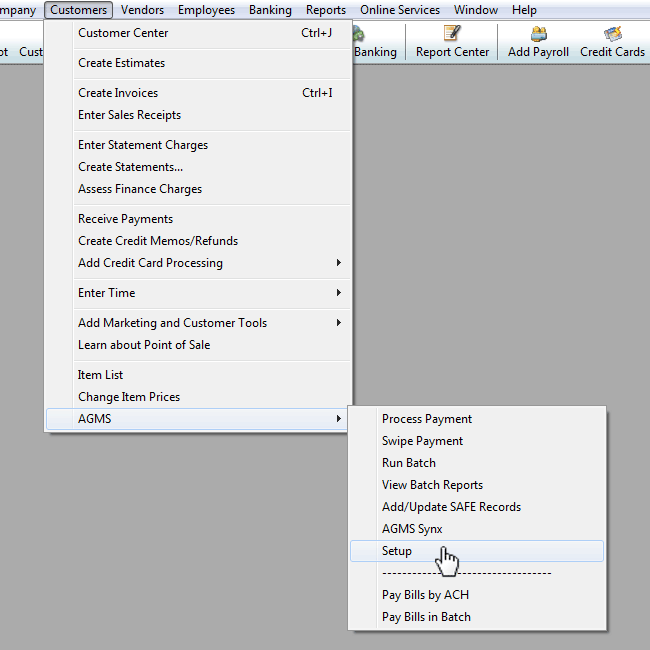
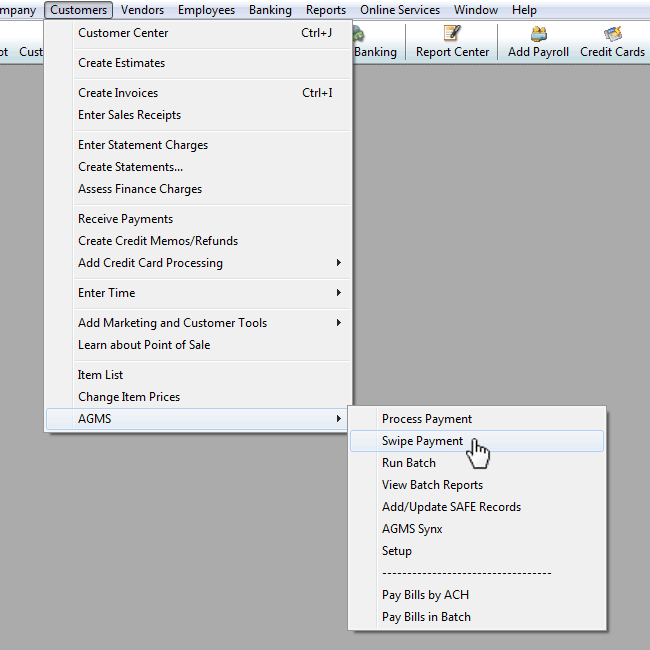
- Under the Customers tab in QuickBooks®, navigate to AGMS and select Setup
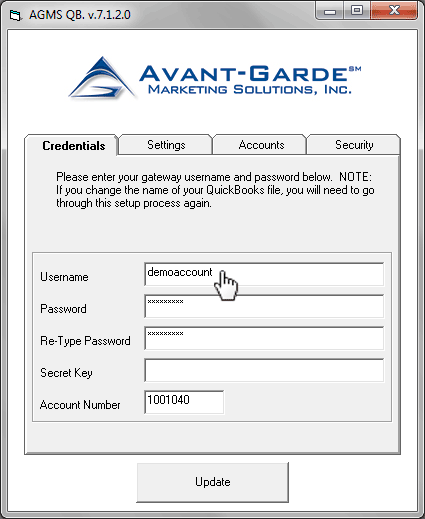
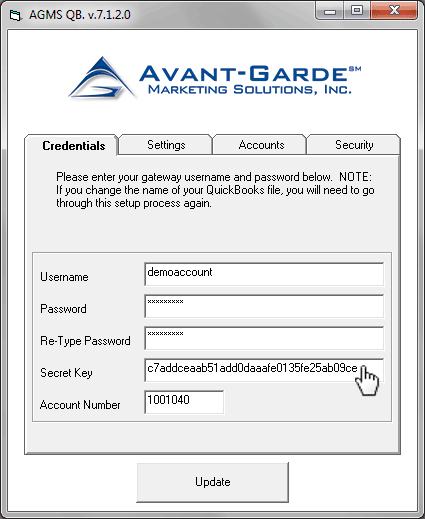
- In the Setup dialog box under the Credentials tab, enter in the credentials for logging into the AGMS Gateway
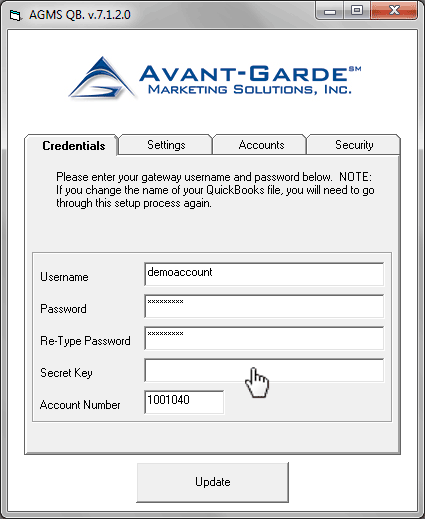
- Paste in the AGMS Gateway Transaction API Key for the Secret Key. Instructions for generating a Transaction API Key can be found in our Before You Begin section.
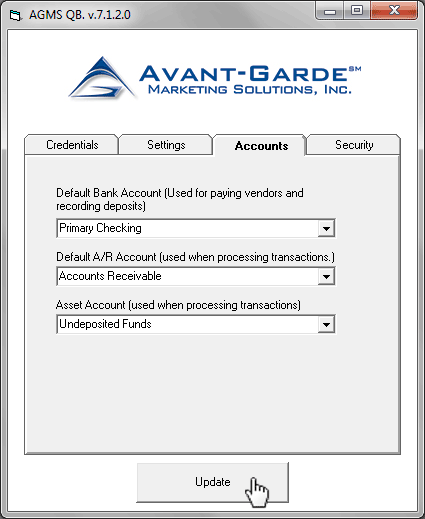
- Enter in Accounts information and click Update
AGMS Gateway QuickBooks® Plugin Transactions
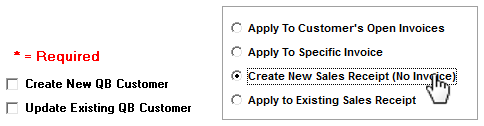
Our plugin makes it easy to apply payments to customers' open invoices in QuickBooks®, create new sales receipts without an existing open invoice, and apply payments to existing sales receipt. Run a swipe transaction in QuickBooks® by following the steps below:
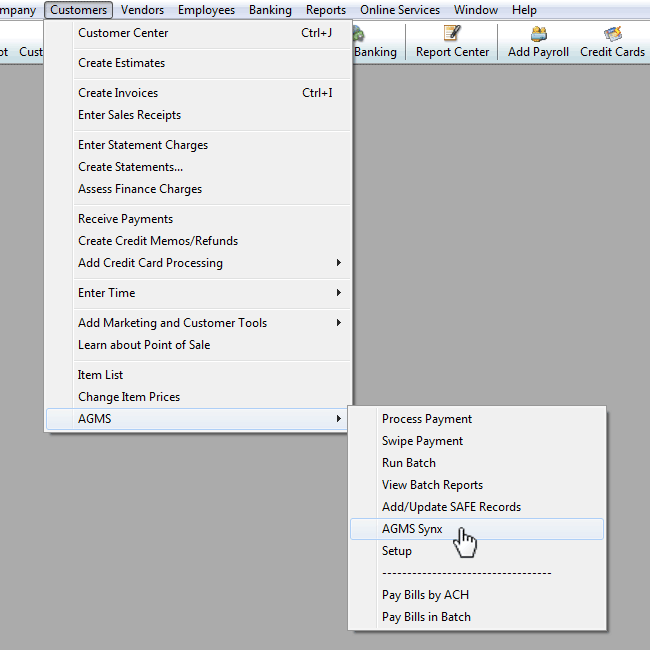
- Under the Customers tab in QuickBooks®, navigate to AGMS and select Swipe Payment to show the swipe dialog box
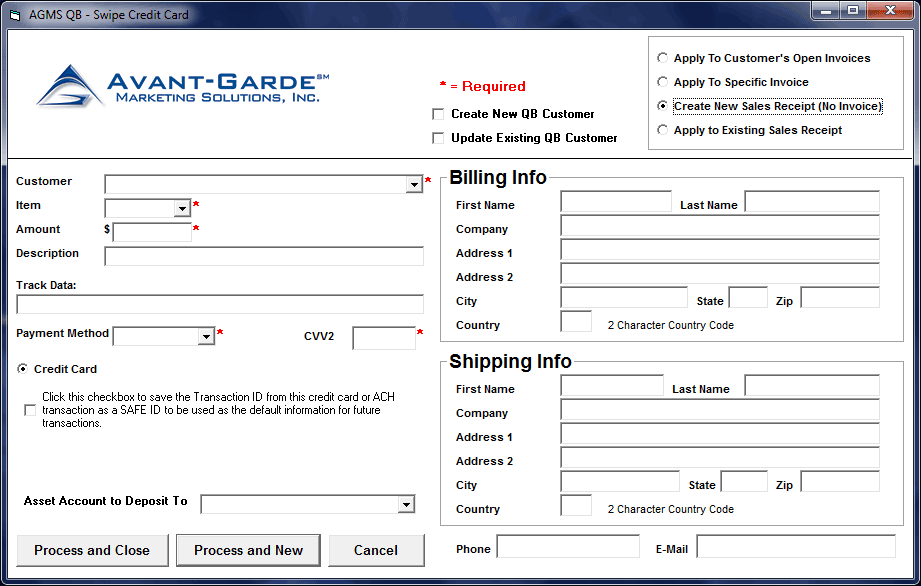
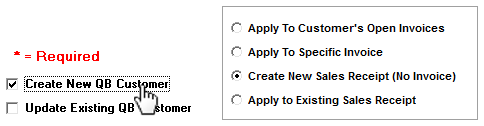
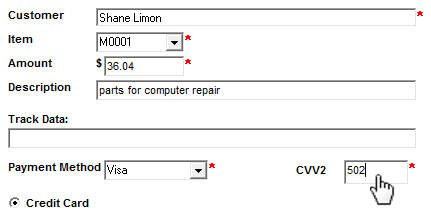
- In the top right of the swipe dialog, select how the payment will be applied. In this example we will run a swipe transaction for a new customer.
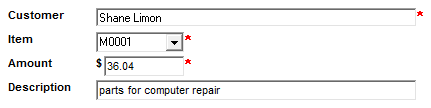
- Enter in the customer information and amount due
- Select the customer payment method
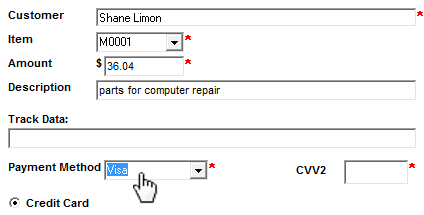
- Enter in the customer's card CVV2 code
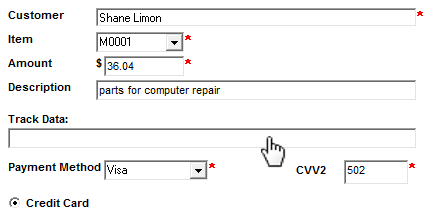
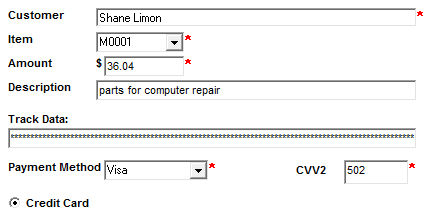
- Click the Track Data field and swipe the customer's card
AGMS Gateway QuickBooks® Plugin Reconciling
Transactions processed on the AGMS Gateway, our mobile apps, a website, or a separate database can be pulled into QuickBooks®. The steps below will walk through how to sync another source with QuickBooks®.
It is important to back up files before running the AGMS Synx process, because the process cannot be undone.
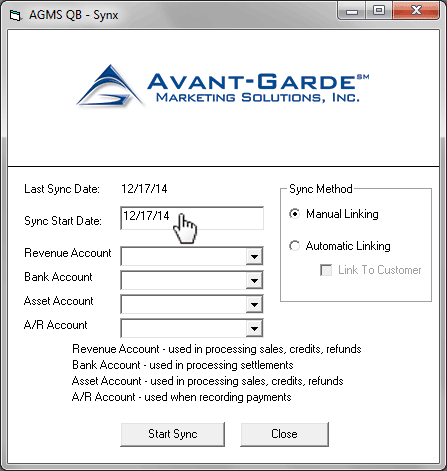
- Under the Customers tab in QuickBooks®, navigate to AGMS and select AGMS Synx to show the synx dialog box
- Enter a Sync Start Date for the process to begin and run through the most current transaction
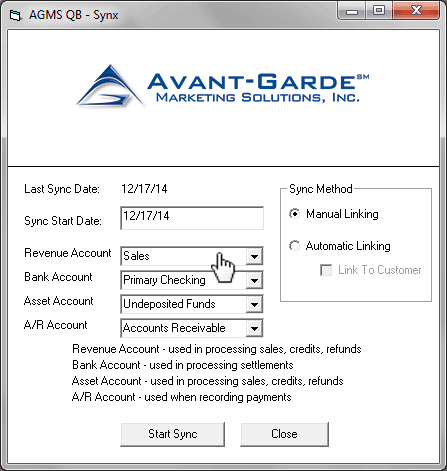
- Select a Revenue Account, Bank Account, Asset Account, and A/R account
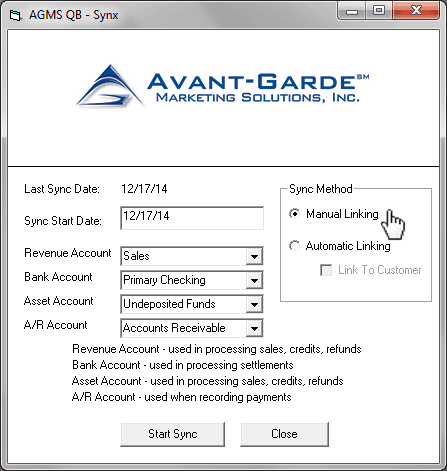
- Select a method to run the process, either Manual Linking or Automatic Linking. For more information on the two modes, refer to the AGMS Gateway QuickBooks® Plugin manual.
- Click Start Sync
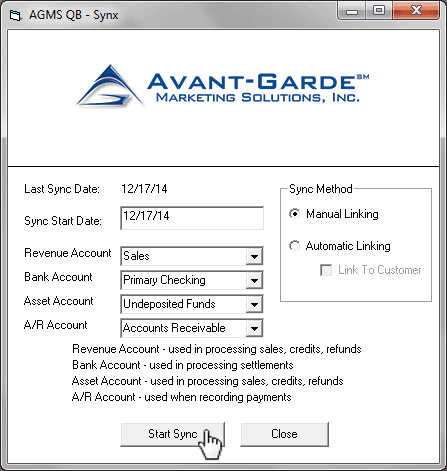
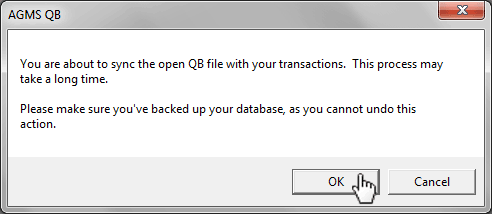
- Click OK to confirm that files have been backed up and to initiate the AGMS Synx process
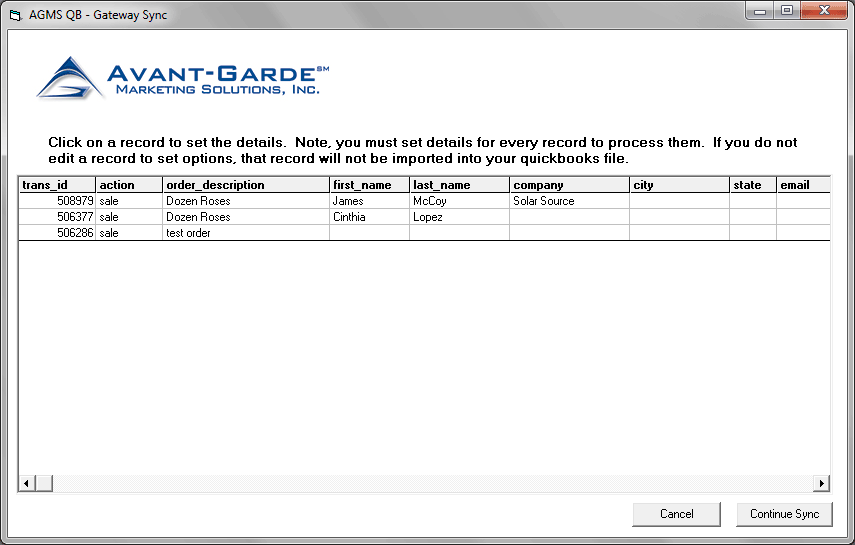
- If Manual Linking was selected as the method for syncing records, details for the records will be made available for editing. Click Continue Sync after records have been updated.
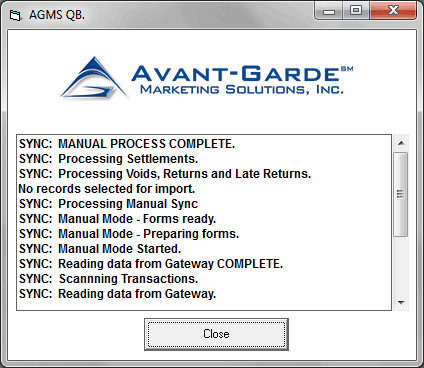
- When the sync process completes, click Close
